![nordicbim_logo.png]](https://www.nordicbim.com/hs-fs/hubfs/Imported%20images/nordicbim_logo.png?height=40&name=nordicbim_logo.png)
NOTE!
The maximum file size for a single point cloud file to import is 4 GB. If the point cloud exceeds this size, it must be divided and imported as multiple files (which can be imported simultaneously). At minimum, raw survey data should be decimated to an appropriate point spacing - typically 10 or 5 mm for interior spaces, for example.
These operations are performed in separate software, such as the free CloudCompare, but most often as a service provided by the company that performed the scan.
It is generally appropriate to have the point clouds located according to the project's local coordinate system.
The point cloud enters Archicad as an object. For successful alignment of the point cloud object, the object placement must be correct—using basic default settings:
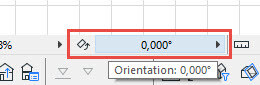
- The view rotation (direction) must be 0.000°.
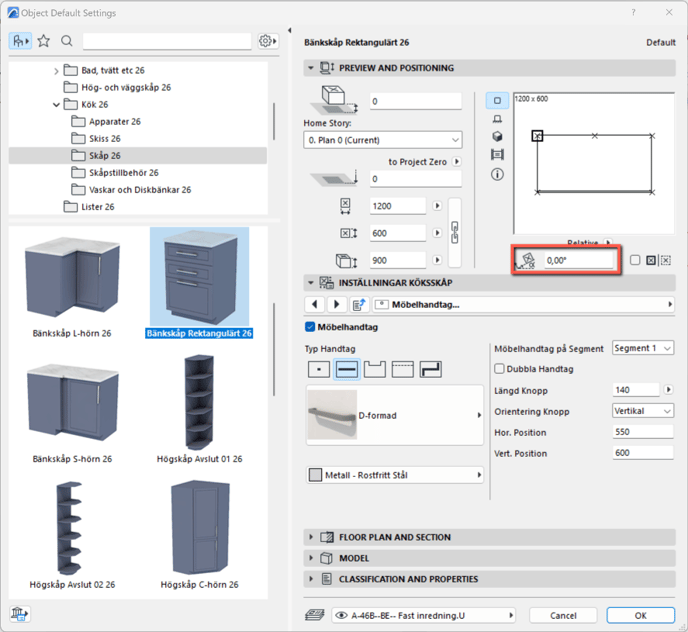
- In the object settings window, verify that the point tool's own rotation is set to 0.00 degrees. Also ensure that object mirroring next to this setting is not enabled.
Note that a point cloud in a local coordinate system typically still requires rotation, because local coordinate systems are usually oriented to north, while the Archicad project coordinate system—in which the building sits straight—is not north-oriented.
- Set object settings > Show in layers > Show in all layers. You can then control point cloud visibility through Base Cut Plane settings—very rarely should you modify the cut plane behavior in the point cloud object's settings or place the point cloud on a specific building story.
- Point clouds are always positioned at height 0.00 relative to N2000 sea level (there is generally no point in ordering point cloud data referenced to other than the sea level datum N2000).
The easiest approach is typically to create a "Sea Level N2000=0" layer in the project at sea level, and open it when importing the point cloud. - Begin placement via File > Interoperability > Import Point Cloud and place the cloud in the sea level layer.
- Always use the Create and Place function instead of Create.
- Select Place point cloud origin at project origin.
- If you want to verify the point cloud alignment in Archicad:
- Ensure that an alignment object exists at sea level in the project's local coordinate system origin—add one if necessary.
- Open 3D, select the point cloud, right-click, and from the context menu select Move > Move Selected Point Cloud, and indicate the local coordinate system origin - typically the corner of the project's alignment object.
- You may still need to rotate the point cloud—local coordinate systems are typically north-oriented, but the design coordinate system in Archicad is oriented to the building. This can be done easily and accurately using local coordinate system alignment objects by indication. Do NOT use numerical entry of rotation degrees; the decimal places shown in the settings window do not provide sufficient precision for determining rotation angle.
- Finally, lock the point cloud object via Edit > Lock > Lock. This prevents accidental movement of the point cloud while working. A useful way to manage point cloud visibility is to also place it in a Design Option created for this purpose.